
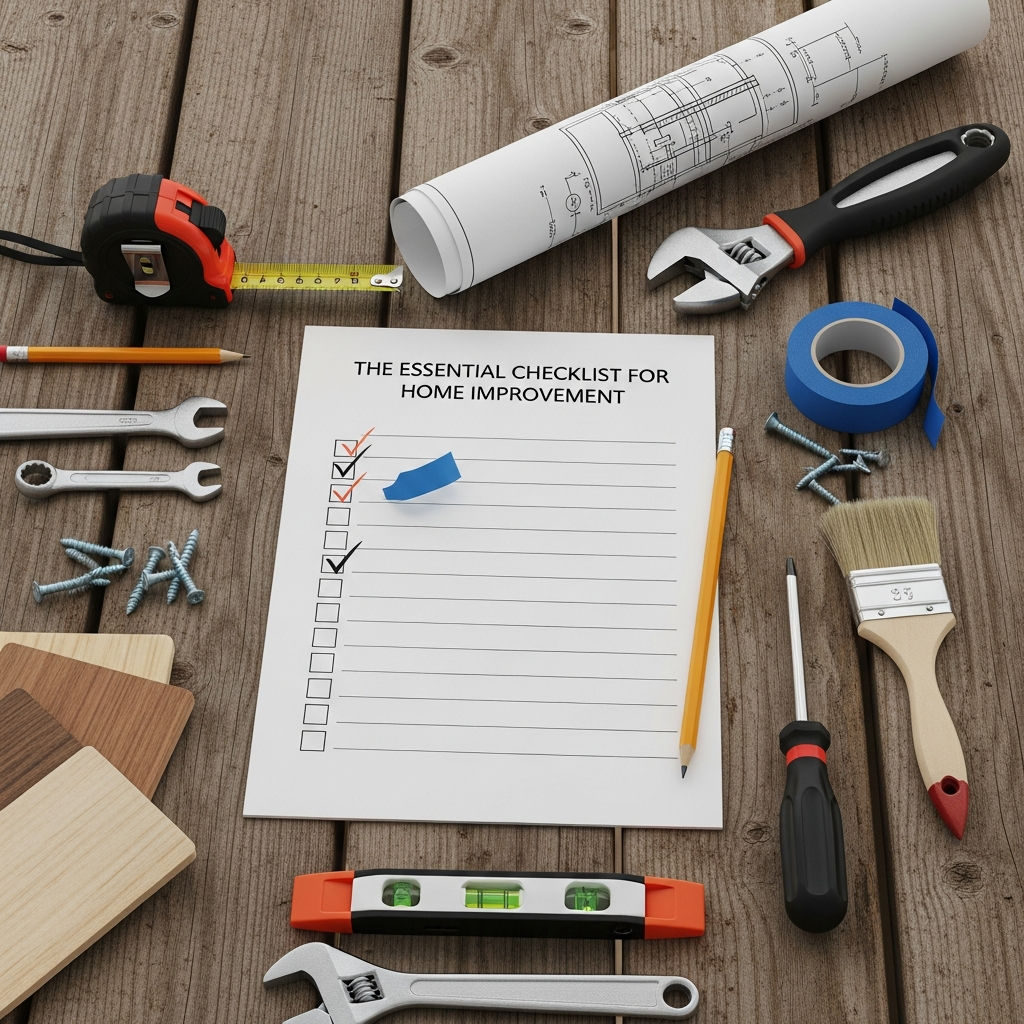
The Ultimate Essential Checklist for Home Improvement: Transform Your Living Space
Embarking on a home improvement journey is an exciting milestone for any homeowner. Whether you are looking to increase your property value for a future sale or simply want to enhance your daily comfort, a well-executed renovation can breathe new life into your space. However, without a structured plan, a dream project can quickly turn into a logistical nightmare. To ensure your project stays on track, on budget, and up to code, you need a comprehensive guide.
This essential checklist for home improvement covers every phase of the process—from the initial brainstorming session to the final walkthrough. By following these steps, you can navigate the complexities of remodeling with confidence and clarity.
Phase 1: Planning and Budgeting
The most successful home improvements are won or lost in the planning stage. Before you pick up a sledgehammer, you need a blueprint for success.
- Define Your “Why”: Are you remodeling to improve your quality of life, or is this a strategic move to boost resale value? Your goal will dictate your material choices and budget allocation.
- Set a Realistic Budget: Research the average costs for your specific project in your local area. Always include a 10% to 20% contingency fund for “hidden” surprises, such as outdated wiring or water damage discovered behind walls.
- Research Design Inspiration: Use platforms like Pinterest, Houzz, or interior design blogs to create a mood board. This helps you communicate your vision clearly to contractors or designers.
- Check Local Permits: Not all renovations require permits, but many do—especially those involving structural changes, electrical work, or plumbing. Check with your local building department early to avoid fines or issues when selling the home later.
Phase 2: Prioritizing Your Projects
It is tempting to start with the “pretty” things like new paint or furniture, but an essential home improvement checklist prioritizes structural integrity and efficiency first.
- The “Invisible” Upgrades: Ensure your roof, HVAC system, plumbing, and electrical panels are in good condition. There is no point in installing a $20,000 kitchen if a leaky pipe ruins the cabinetry six months later.
- High-ROI Areas: If resale is your goal, focus on kitchens and bathrooms. These rooms consistently offer the highest return on investment (ROI).
- Energy Efficiency: Consider upgrading windows, adding insulation, or installing a smart thermostat. These improvements lower utility bills and are highly attractive to modern buyers.
- Curb Appeal: First impressions matter. Include landscaping, exterior painting, or a new front door on your checklist to instantly boost your home’s aesthetic value.
Phase 3: Hiring the Right Team vs. DIY
One of the biggest decisions you will make is determining what you can do yourself and what requires a professional. Be honest about your skill level to avoid costly mistakes.
When to Hire a Professional:
- Structural Changes: Moving load-bearing walls requires a structural engineer and a licensed contractor.
- Complex Electrical and Plumbing: To ensure safety and code compliance, always hire licensed tradespeople for significant rewiring or pipe redirection.
- Vetting Contractors: Always ask for at least three quotes. Check licenses, insurance, and online reviews. Don’t just pick the lowest bid; look for the best value and communication style.
When to DIY:
- Cosmetic Updates: Painting, installing basic light fixtures, and simple landscaping are excellent DIY projects that save money.
- Demolition: If you are physically able, doing your own “demo” (with professional guidance to avoid hitting pipes) can shave a few hundred dollars off your labor costs.
Phase 4: The Room-by-Room Checklist
To keep the project organized, break your home improvement checklist down by room. This ensures no detail, however small, is overlooked.

Kitchen Remodel Checklist
- Layout optimization (the “Work Triangle”).
- Cabinetry: Refacing vs. full replacement.
- Countertop material (Quartz, Granite, or Butcher Block).
- Backsplash installation.
- Under-cabinet lighting and modern appliances.
Bathroom Remodel Checklist
- Waterproofing and tiling.
- Updated vanity and sink.
- Low-flow toilet and modern showerheads.
- Ventilation fan (critical for preventing mold).
- New mirrors and hardware.
Living Areas and Bedrooms
- Flooring: Refinishing hardwoods or installing LVP (Luxury Vinyl Plank).
- Wall treatments: Fresh paint or accent wallpaper.
- Lighting: Installing recessed cans or statement chandeliers.
- Storage solutions: Closet organizers or built-in shelving.
Phase 5: Logistics and Execution
Once the work begins, the logistics of living in a construction zone can become stressful. Preparation is key to maintaining your sanity.
- Establish a Timeline: Work with your contractor to create a schedule. Understand that delays (shipping issues, weather, or labor shortages) are common.
- Create a “Dust Barrier”: If you are living in the home during construction, use plastic sheeting to seal off rooms and protect your furniture.
- Order Materials Early: Lead times for custom cabinets, windows, or specific tiles can be weeks or even months. Order these well before the contractor arrives.
- Safety First: Keep a clean workspace. Ensure you have the proper PPE (masks, goggles, and gloves) if you are assisting with the work.
Phase 6: The Finishing Touches and Quality Control
As the project nears completion, the “Punch List” becomes your most important document. This is a list of small tasks that need to be finished before final payment is made.
- Inspect the Details: Check for paint drips, gaps in caulking, or loose cabinet handles.
- Test Everything: Turn on every faucet, flush every toilet, and flip every light switch. Ensure all appliances are functioning as expected.
- Deep Clean: Construction dust settles everywhere. Hire a professional post-construction cleaning crew or dedicate a full weekend to scrubbing the space from top to bottom.
- Document the Work: Take “after” photos for your records. Keep all receipts and warranties in a dedicated folder; these are essential for tax purposes and future home sales.
Conclusion: A Successful Home Transformation
Home improvement is a marathon, not a sprint. While the process can be demanding, having a comprehensive checklist ensures that you stay organized and proactive rather than reactive. By focusing on solid planning, realistic budgeting, and quality execution, you turn your house into a home that reflects your style and serves your needs for years to come.
Remember, the most important part of any home improvement project is the preparation. Whether you are doing a minor refresh or a total overhaul, this checklist serves as your roadmap to a more beautiful, functional, and valuable home. Happy renovating!